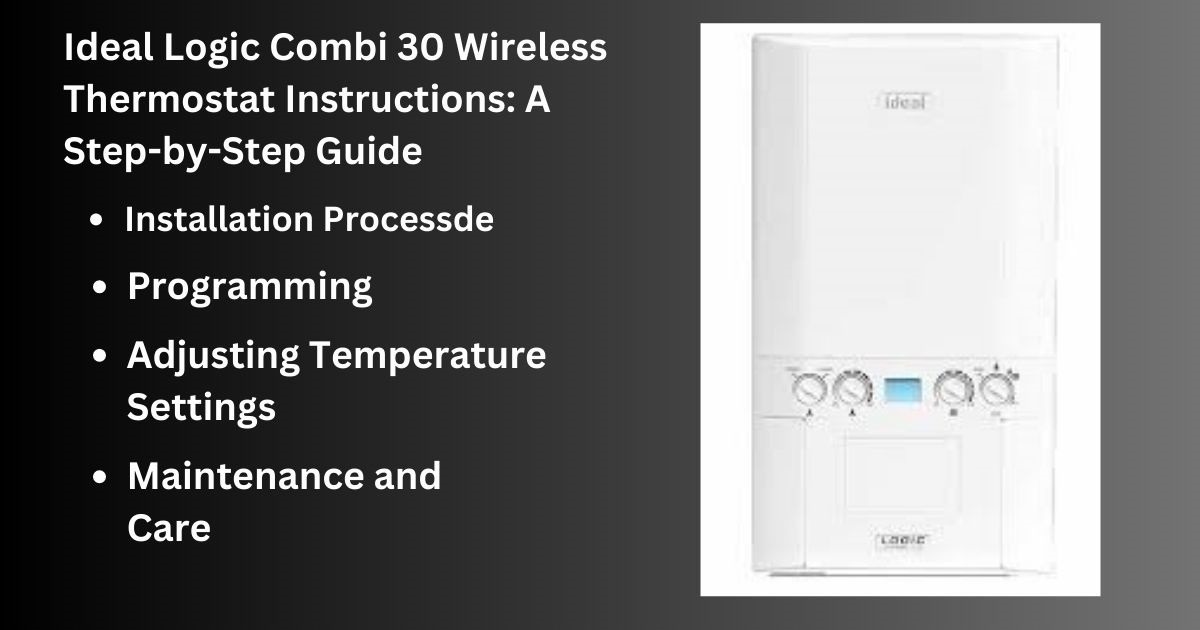
The Ideal Logic Combi 30 Wireless Thermostat is an innovative device that allows you to control and optimize the heating system in your home. In this article, we will give a bit-by-bit guide on the most proficient method to utilize this indoor regulator. Whether you’re another client or hoping to revive your insight, this guide will assist you in exploring the directions easily.

Table of contents
How to Ideal Logic Combi 30 Wireless Thermostat Instructions
- How far is the wireless range of the Ideal Logic Combi 30 Wireless Thermostat?
The wireless range of the thermostat is approximately XX feet, ensuring reliable communication between the transmitter and the receiver.
- How far does the wireless range of the thermostat reach?
The wireless range is approximately XX feet, ensuring reliable communication.
Understanding the Ideal Logic Combi 30 Wireless Thermostat
Before diving into the installation and setup process, let’s understand the key features and functions of the Ideal Logic Combi 30 Wireless Thermostat. This indoor regulator offers remote availability, permitting you to control your warming framework from any place in your home. It provides precise temperature control, timers, and programming options for enhanced energy efficiency.
Installation Process: Step-by-Step Guide
Installing the Ideal Logic Combi 30 Wireless Thermostat is a specific process that can be completed by following these step-by-step instructions:
Turn off the power:
Before beginning the establishment, guarantee that the power supply to your warming framework is switched off. This will guarantee security during the cycle.
Remove the old thermostat:
Carefully remove the existing thermostat from the wall. Take note of the wiring connections and make sure to label them for reference when installing the new thermostat.
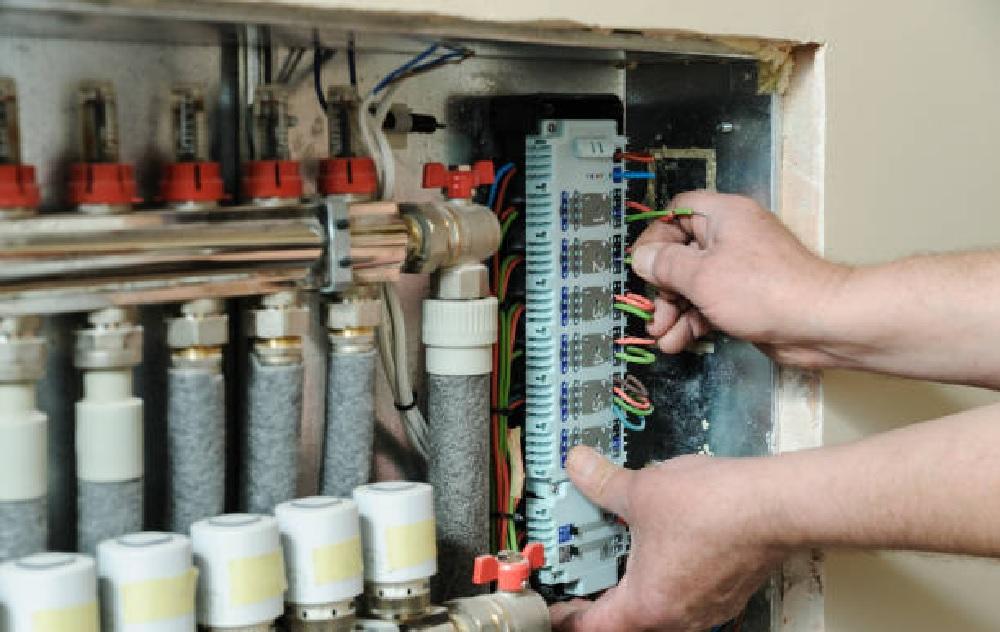
Prepare the receiver:
Locate the receiver, which is the main unit of the thermostat. Connect the wiring from the heating system to the corresponding terminals on the receiver. Follow the provided instructions or consult the user manual for guidance on the specific wiring connections.
Mount the receiver:
Find a suitable location on the wall near the boiler or heating system to mount the receiver. Use the provided screws or mounting brackets to secure it in place.
Prepare the transmitter:
The transmitter is the wireless unit that communicates with the receiver. Insert the batteries into the transmitter, making sure to follow the correct polarity as indicated. The transmitter and receiver should be within the recommended range for proper functionality.
Pair the transmitter and receiver:
Press the pairing button on the receiver and hold it until the LED indicator starts flashing. Within a few seconds, press the pairing button on the transmitter. The LED indicator on both units should confirm successful pairing.
Test the connection:
After pairing, ensure that the transmitter and receiver are communicating properly. Adjust the temperature setting on the transmitter and check if the receiver responds accordingly. This will verify the connection between the two units.
Mount the transmitter:
Find a suitable location within the range of the receiver to mount the transmitter. Use the provided adhesive or mounting bracket to securely attach it to the wall.
Setting Up: Step-by-Step Guide
Setting up the Ideal Logic Combi 30 Wireless Thermostat is a simple process that involves a few steps. Follow this step-by-step guide to get your thermostat up and running:
Power on the heating system:
Guarantee that the power supply to your warming framework is turned on. The thermostat requires power to operate and communicate with the heating system effectively.
Choose the language and time format:
At the point when you power on the indoor regulator, it will incite you to choose the ideal language and time design. Utilize the route buttons to look at the choices and press the suitable button to make your determinations.
Connect the receiver and transmitter:
The Ideal Logic Combi 30 Wireless Thermostat consists of a receiver (installed near the heating system) and a wireless transmitter. Follow the pairing instructions provided by the manufacturer to establish a connection between the receiver and transmitter. This usually involves pressing specific buttons on both units to initiate the pairing process.
Verify the connection:
Once the receiver and transmitter are paired successfully, verify that they are communicating properly. The thermostat display should show the current temperature reading. You can also adjust the temperature setting on the transmitter and check if the receiver responds accordingly.
Configure additional settings:
Depending on the specific features of your Ideal Logic Combi 30 Wireless Thermostat, you may have additional settings to configure. These settings can include temperature calibration, display brightness, and other personalized options. Refer to the user manual provided by the manufacturer for detailed instructions on accessing and adjusting these settings.
Mount the thermostat:
Find a suitable place on the wall to mount the thermostat. Ensure that it is within the recommended range of the receiver for optimal wireless communication. Use the provided screws or mounting bracket to securely attach the thermostat to the wall.
Final checks:
Before concluding the setup process, double-check the connections and settings to ensure everything is in order. Ensure the transmitter and recipient are appropriately matched, the indoor regulator is safely mounted, and the presentation is working accurately.
Programming: Step-by-Step Guide
Programming the Ideal Logic Combi 30 Wireless Thermostat allows you to create customized heating schedules based on your preferences. Follow these step-by-step instructions to program your thermostat effectively:
Access the programming menu:
On the thermostat, navigate to the programming menu. This should for the most part be possible by squeezing the menu or settings button, trailed by choosing the “Program” or “Timetable” choice.
Select the days and times:
Utilizing the indoor regulator controls, pick the times of the week for which you need to set the warming timetable. Regularly, you can choose individual days or gatherings of days like work days and ends of the week.
Set the desired temperature for each period:
For each chosen day, you can characterize various periods like morning, evening, night, and night. Utilize the indoor regulator controls to set the ideal temperature for every period. Some thermostats may allow you to set specific start and end times for each period as well.
Repeat the process for other days:
If you want to have different heating schedules for different days, repeat steps 2 and 3 for the remaining days you wish to program.
Review and save the programmed schedule:
Once you have set the desired temperatures for each period on each day, review the programmed schedule on the thermostat display. Make sure it accurately reflects your preferences. If any adjustments are needed, use the thermostat controls to make the necessary changes.
Activate the programmed schedule:
After verifying the programmed schedule, save and activate it. This will empower the indoor regulator to consequently change the temperature in light of the modified settings.
Optional: Modify or override the programmed schedule:
If you ever need to make temporary changes to the programmed schedule, you can manually adjust the temperature on the thermostat. This will override the programmed settings for that particular period. The thermostat will resume following the programmed schedule once the overridden period ends.
Adjusting Temperature Settings: Step-by-Step Guide
The Ideal Logic Combi 30 Wireless Thermostat allows you to easily adjust the temperature settings in your home. Follow these step-by-step instructions to make the desired temperature changes:
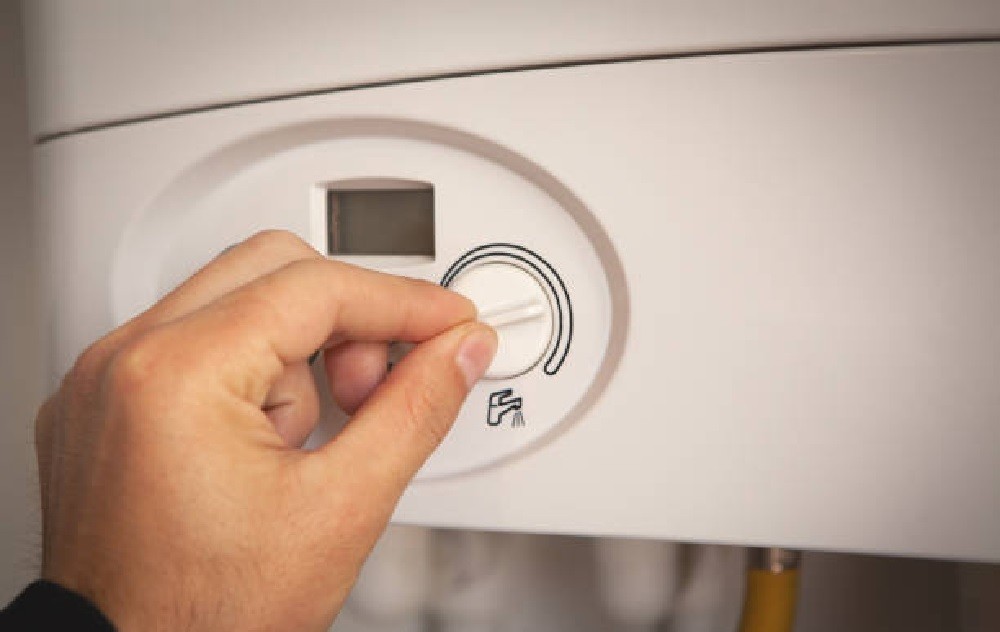
Locate the thermostat:
Identify the Ideal Logic Combi 30 Wireless Thermostat installed in your home. It is typically mounted on a wall in a central area.
Identify the temperature controls:
The thermostat will have buttons or a touch-screen display for temperature adjustment. Look for buttons labelled with “+” and “-” symbols or arrows pointing up and down.
Understand the current temperature:
Take note of the current temperature displayed on the thermostat. This will serve as a reference point for making adjustments.
Increase the temperature:
To raise the temperature, press the “+” or up arrow button. Each press will incrementally increase the temperature setting. Continue pressing until you reach the desired temperature level.
Decrease the temperature:
To lower the temperature, press the “-” or down arrow button. Each press will incrementally decrease the temperature setting. Continue pressing until you reach the desired temperature level.
Monitor the changes:
As you adjust the temperature settings, the thermostat will display the new temperature setting. Pay attention to the display to ensure that it reflects the desired temperature.
Wait for the temperature adjustment:
Give the indoor regulator a couple of seconds to change the warming framework as indicated by the new temperature setting. The heating system will gradually reach the new target temperature.
Review the adjusted temperature:
After a short period, check the thermostat display to confirm that the temperature has been adjusted as desired. Ensure that the display shows the new target temperature.
Understanding the Timer Function
The timer function on the Ideal Logic Combi 30 Wireless Thermostat allows you to set specific times for your heating system to turn on or off. Here’s how to utilize this feature:
- Access the timer menu on your thermostat.
- Set the desired time and temperature for each programmed period.
- Ensure the timer is activated for the desired days.
Troubleshooting Common Issues
In case you encounter any issues with your Ideal Logic Combi 30 Wireless Thermostat, try these troubleshooting tips:
- Check the batteries in both the transmitter and the receiver.
- Ensure the receiver and the transmitter are within range.
- Verify the thermostat settings are correctly configured.
Maintenance and Care: Step-by-Step Guide
To ensure optimal performance and longevity of your Ideal Logic Combi 30 Wireless Thermostat, it’s important to follow a regular maintenance and care routine. Here’s a step-by-step guide to help you keep your thermostat in good condition:
Power off the heating system:
Before performing any maintenance or cleaning tasks, turn off the power supply to your heating system. This will prevent any accidental electrical mishaps.
Cleaning the thermostat:
Utilize a delicate, dry material to clean the outer layer of the indoor regulator tenderly. Abstain from utilizing water or cruel cleaning specialists, as they might harm the gadget. Wipe away any residue, soil, or fingerprints that might have been collected on the indoor regulator.
Check and replace batteries:
If your Ideal Logic Combi 30 Wireless Thermostat uses batteries, it’s essential to periodically check their condition. Eliminate the battery cover and assess the batteries for indications of erosion or spillage. If any issues are detected, safely remove and dispose of the damaged batteries. Replace them with fresh, high-quality batteries as recommended by the manufacturer.
Verify wireless connectivity:
Ensure that the wireless connection between the thermostat’s transmitter and receiver is functioning properly. Check the LED indicators on both units to confirm that they are communicating effectively. On the off chance that the remote association is powerless or disturbed, think about repositioning the transmitter or collector to work on the sign strength.
Protect from direct sunlight and extreme temperatures:
Position the thermostat away from direct sunlight, as prolonged exposure to sunlight can affect its performance and accuracy. Additionally, avoid placing the thermostat in areas with extreme temperatures, such as near heat sources or drafty windows, as this can impact its readings and operation.
Regularly check for software updates:
Stay informed about any software updates or firmware releases provided by the manufacturer. Intermittently visit their site or buy into notices to guarantee that your indoor regulator’s product is cutting-edge. Follow the instructions provided by the manufacturer to install any available updates, as they may enhance the thermostat’s performance and functionality.
Contact professional assistance if needed:
If you encounter any issues or difficulties with your Ideal Logic Combi 30 Wireless Thermostat that cannot be resolved through basic maintenance, consult the user manual or contact the manufacturer’s customer support for further guidance. They can provide expert advice or recommend a qualified technician if necessary.
Conclusion
In conclusion, the Ideal Logic Combi 30 Wireless Thermostat is a user-friendly device that offers convenient control over your heating system. By following the step-by-step instructions provided in this guide, you can effectively install, set up, and program the thermostat to suit your needs. Enjoy enhanced comfort and energy efficiency in your home with the Ideal Logic Combi 30 Wireless Thermostat.
FAQs
The Ideal Logic Combi 30 Wireless Thermostat is compatible with a wide range of boilers. However, it’s always recommended to check the compatibility with your specific boiler model.
Yes, the thermostat allows you to create separate heating schedules for weekdays and weekends, providing flexibility and energy savings.
Yes, you can manually override the programmed schedule by adjusting the temperature setting directly on the thermostat.
Yes, it typically comes with a manufacturer’s warranty. Refer to the documentation or contact the manufacturer for details.
Yes, you can manually adjust the temperature on the thermostat.

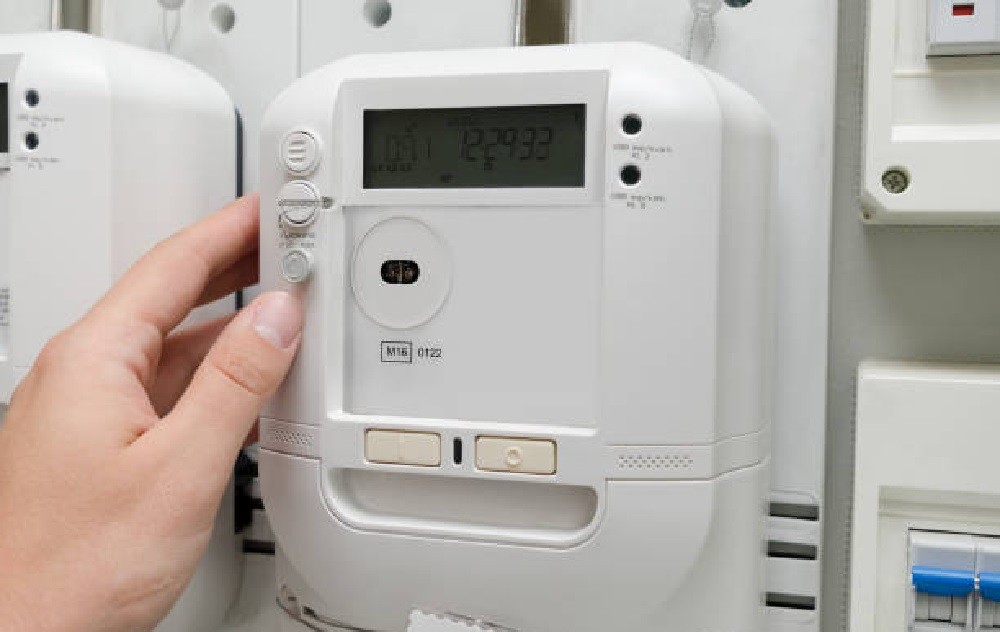
This image provides a visual representation of the step-by-step instructions for setting up and using the Ideal Logic Combi 30 Wireless Thermostat. It serves as a comprehensive guide, ensuring a smooth and successful installation process.